Stone Flooring Rejuvenation – Tips on What and How To Do It

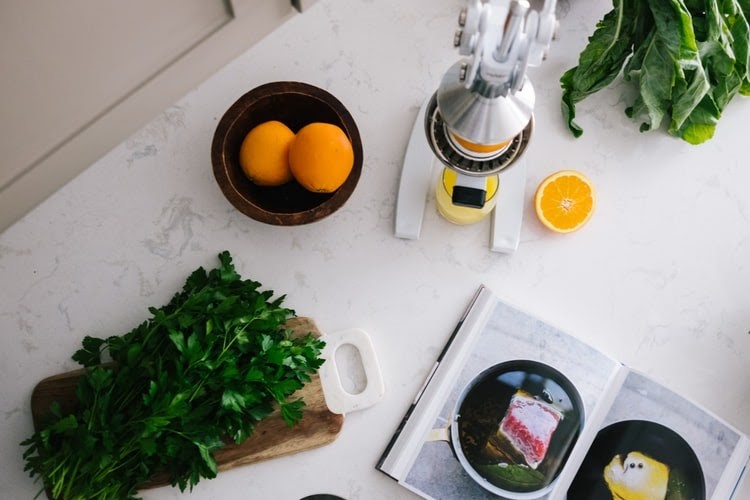
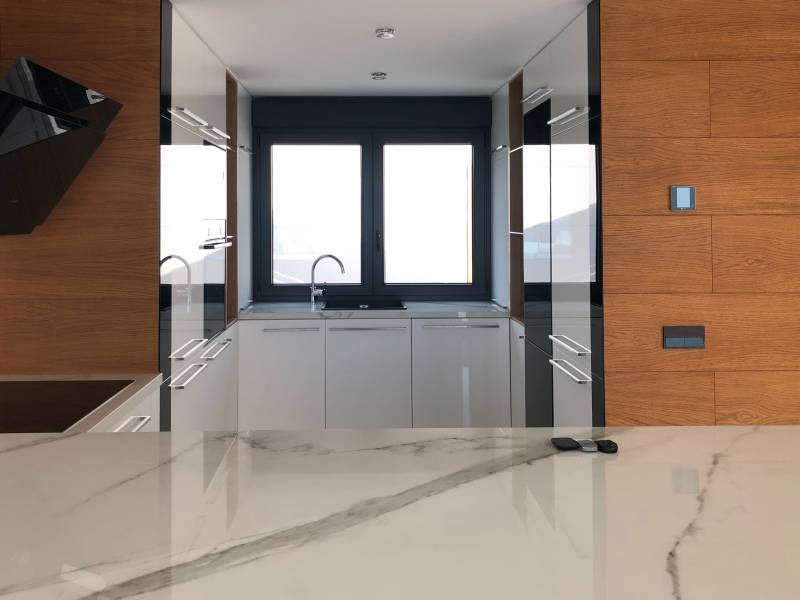
Slates, marbles, onyx, are a few of the stone flooring that adds a touch of elegance in a home. Incorporating stones to your home comes with certain responsibility in return to its elegant striking look that projects a quaint ambient home. Etching, cracks, and scratches are the issue most homeowners have to deal with whilst maintaining the pristine look of their stones.
Doing the appropriate care will extend the immaculate image of your stone. Since it is prone to certain stains and what-have-you, it is best to know how to be able to restore and give your stone a fresh look.

Determine the Type of Stone You Own
It is important that you know exactly what kind of stone you have to know the appropriate way of restoring it and giving it back its original appearance. To do so, look for stones in the market and compare the medium you have at home. Check the small details unique to your stone and give a keen eye to its texture, form, and finish.
Basically, stones fall with these three geological categories: metamorphic, igneous and sedimentary. It is also vital to know whether your stone is siliceous or calcareous.
Calcareous stones are sensitive to the acidic compound, kinds of which include limestone, marble, travertine, onyx, and serpentine. Hence, it is recommended to use non-acidic compounds when cleaning your stones to avoid discolouration and damage. Siliceous, on the other hand, can withstand acidic substances that are acidic. Kins of siliceous stones include granite, slate, quartzite, soapstone and sandstones, these stones are effortless to clean and maintain.
Deep Cleaning Your Stone
Your stone flooring, countertops, accent walls, and among others are pretty much stagnant in your space. It is inevitable that it will acquire dirt through time. The best thing to do is to pamper your stone with deep cleaning. Take out dirt on every cranny as much as you can. The right application of cleaning and sealing your stone is essential in keeping it in pristine quality. Here are the requirements when cleaning and resealing:
- A pair of rubber gloves
- Bucket
- Sponge
- Mop
- Hard and soft brushes
- Squeegee
- A paint roller
- Stone care products best for your stone
Steps in Cleaning your Stone
- Clear out the dirt, debris, and other elements on the surface of the stone.
- Dilute your solution in accordance with the instruction of the manufacturer.
- By using a hard brush, scrub the area where it was badly stained or damage to clean thoroughly. As for other areas with lesser damage or grimes, a soft brush is ideal.
- After cleaning, put the solution on your stone and let it absorb for 10 minutes.
- Lastly, wipe the stone with a clean and dry cloth to take out excess dirt, solution and other elements.
Resealant Application for Your Stone

It is advisable to reseal your stone after deep cleaning. It will help in keeping it in good condition whilst straying away from potential damage, stains, etch and others.
Here are the steps of correctly resealing your stone in your home:
Apply the sealant onto your stone in small batches then spread it using paint rollers. The second coating can be applied if you prefer or if there are certain areas that are not thoroughly covered.
Leave the sealant for 15 minutes to be absorbed by the grout completely.
Then, remove the excess sealant on your stone with a clean cloth.
After, check the whole area if the sealant is evenly distributed and avoid touching the surface until it dries completely.
Typically, it takes hours for the sealant to dry, but you have to wait three days for it to be completely cured. Thus, during this span, put a rug to make sure no dirt could penetrate whilst its curing.